How to Make Almost* Anything | MAS.863
Ella Peinovich | M.Arch Level III, MIT
Ella Peinovich | M.Arch Level III, MIT
Tests for Unit Mold
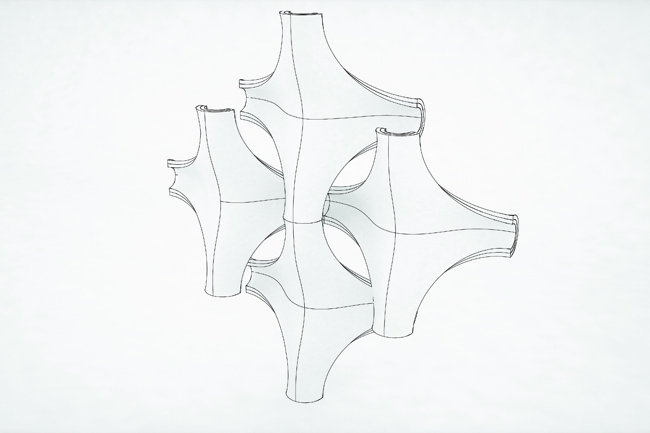
Image of wall composite, made of 4 units from 8 mold casts.
Each unit is currently designed to be hollow so that I can fit in any devices and controllers I decide to later, meaning that each mold is cast twice per unit to later be masked together.
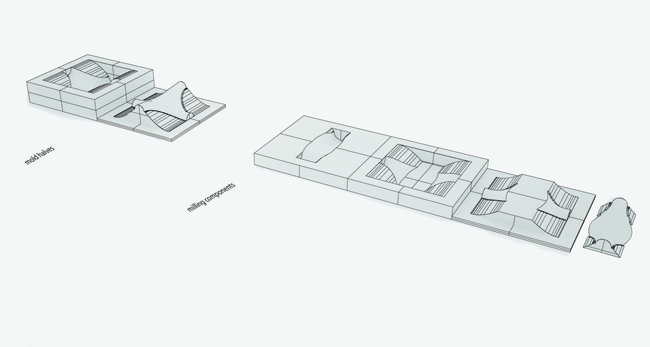
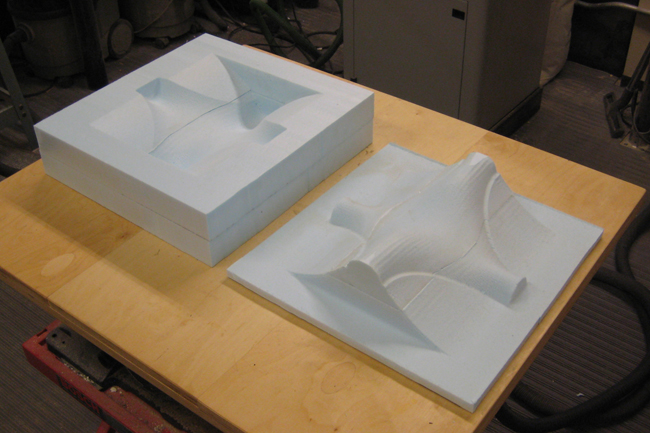
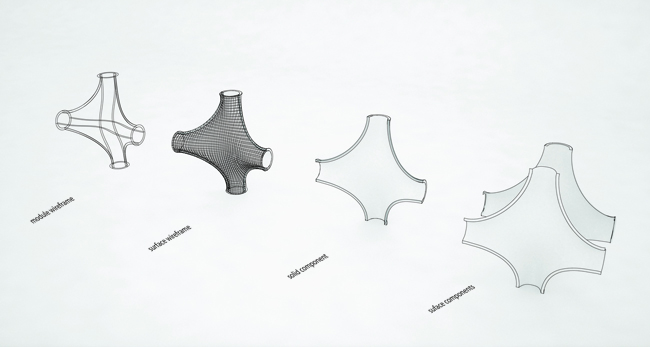
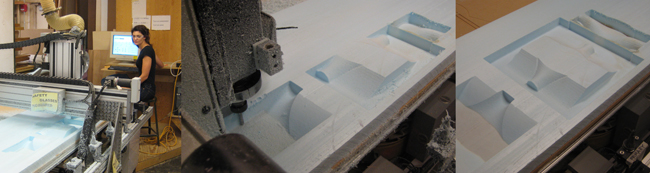
To continue working toward my final wall design while using the NC Machine I decided to 3d sculpt a mold for casting Plastocrete and possibly vaccuum forming the two surfaces of each modular wall component. I began by modeling the shape for the component in Rhino and then unfolded the surface construction in order to get the surfaces to be milled for the mold.
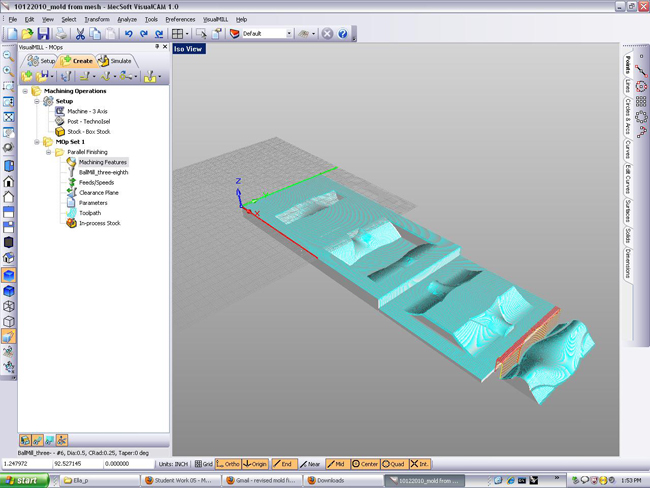
I was then able to preview of NC finish pathes in MecSoft VisualCAM program.
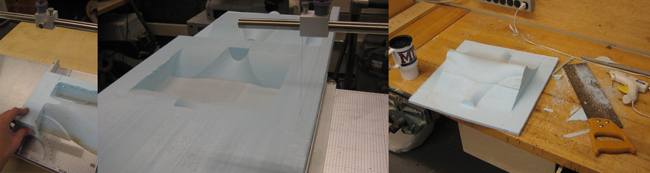
After milling I cut the pieces out of the larger piece of foam on the foam wire cutter, this saved time and material compared to milling out the cut edges. Each side was then laminated.
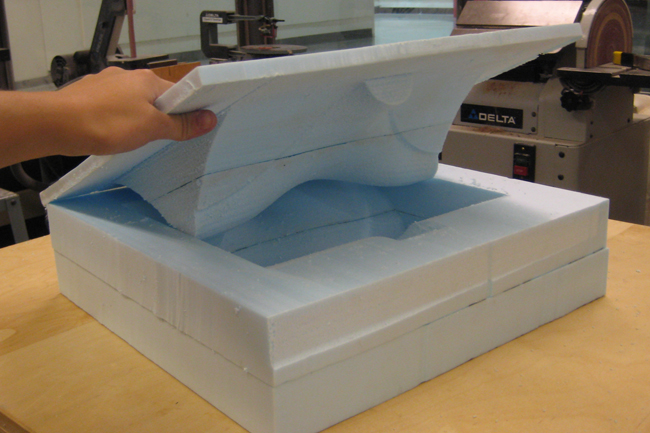
Issues arose. The tolerance of the machine made it so that the plug did not fit into the hole. I had used a 3/8" bit with a 10% offset on each cut pass yet the hole cut in the mold was about 1/8-1/4" too small, meaning the tool had not cut diretly up to my wall line; and the plug was about 1/8-1/4" too big, meaning again the tool had cut outside the wall dimension. (I have yet to test how this offset has effected the z-height.) I decided to saw the long ends of the plug to make it fit and will attempt a cast in the coming weeks; the true test of the mold design. (TO BE CONT'D...)
TIPS for 3D surface modeling on NC Machine
TIP #1: KNOW TOLERANCES
When thinking of building a 3D model for the Router Machine know the tolerances of the machine, because a clean file is not as necessary as say the 3D print machine.
TIP #2: ADD SURFACES WHERE CUT THROUGHS EXIST
The software looks Top-down at model and recognizes the Z-height of all visible surfaces. Holes or pockets in your model are not considered for cut (seen in red in my path preview), so if you want the material cut, place a surface at the zero z-height, or below if you can afford to cut into table.
TIP #3: FINISH CUT ONLY, WHEN IN FOAM
When cutting into rigid foam, you are able to skip over the rough cut and go straight into the parallel finishing; this will sometimes cut your time in half.
Also, take a look at some of my past projects on the NC Machine.